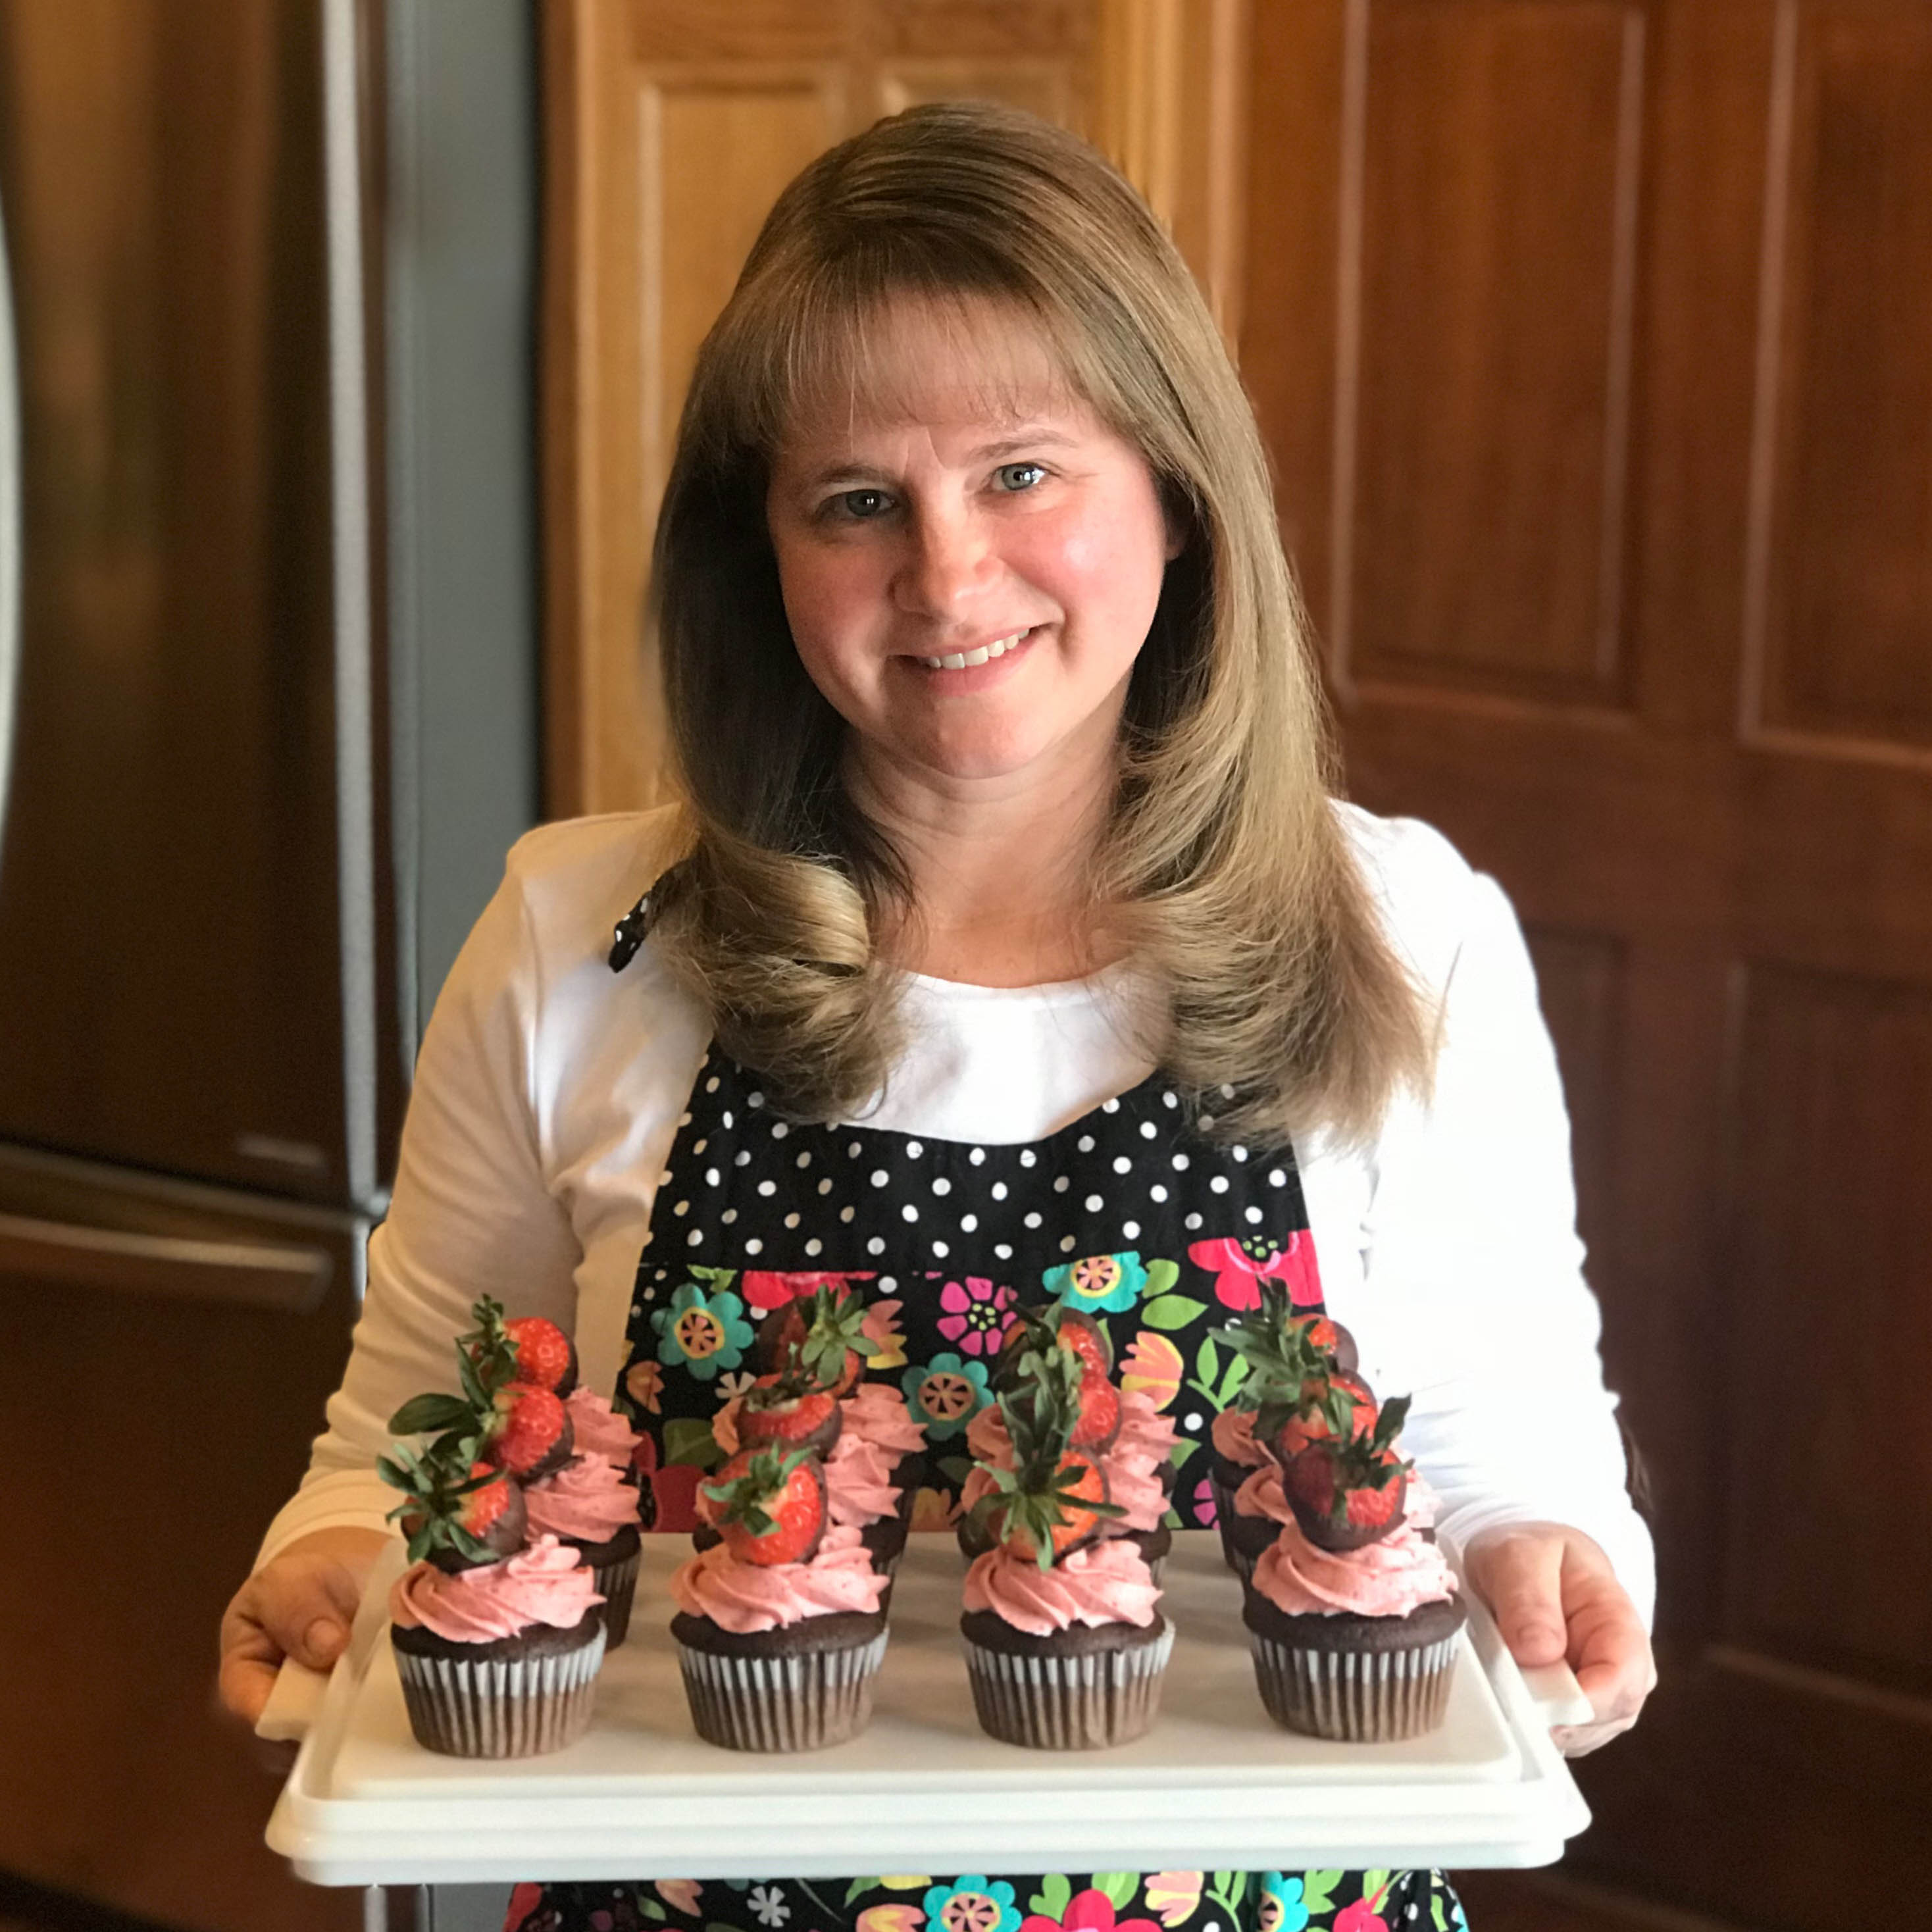
These are simply the cutest treats! They aren't really hard to make, but they do take some time. It's a great Saturday project. :) If you decide to make these, be sure to go to the Bakerella site. She has pictures and a video that will really be helpful. I posted the recipe here more for myself as a backup and a reminder. I think the cupcake bites are even easier to make than the pops, and they still look very impressive and taste great. (My personal notes on this project are in italics.)
Ingredients and Supplies
1 13X9 baked cake (from a box cake mix or from scratch … any flavor)
1 can cream cheese frosting (or about 2 cups equivalent from scratch) - I used vanilla frosting and they were still good
1 flower shaped cookie cutter (1.25" wide X .75" tall)
1 package chocolate bark
1 package pink candy melts or white chocolate bark
bowls for dipping
wax paper
aluminum foil
lollipop sticks
sprinkles, m&ms or something similar for top of cupcake
small plastic treat bags and ribbon to package the Cupcake Pops
styrofoam block
Directions
1.Bake a cake from a mix or from scratch and cool completely.
2.Crumble cake into a fine consistency into a large bowl.
TIP: If the texture is too coarse, you can run it through a food processor. (I did not need to do this - if the cake is cool, it should crumble easily.)
3.Add can of cream cheese frosting (or vanilla) or homemade frosting and blend together using the back of a large spoon. Blend thoroughly.
4. Roll mixture into 1.25" - 1.5" size balls and lay on wax paper covered cookie sheet. You may want to periodically rinse and dry your hands off in between. (I used a small, Pampered Chef cookie scoop which helped keep the balls the same size.)
5. Cover with aluminum foil or plastic wrap and chill in refrigerator for several hours.
TIP: You can speed this up by placing in the freezer for about 15 minutes. (I put mine in the freezer for about 30 minutes, which worked great.)
6. Remove. Begin to shape into cupcakes using a small flower-shaped cookie cutter. Take the chilled ball and roll it into more of an oval and then slide into cookie cutter. Push it into cutter until about half fills the cutter and the rest sticks out of the top in the shape of a mound. Then push the shaped cupcake carefully out of the cookie cutter from the bottom. Set right side up on a wax paper covered cookie sheet. Continue with remaining balls. (If you don't have a small crinkle-cut cookie cutter, just use your hands to form the cupcake shape.)
7. Once shaped, cover and return to freezer. (5-10 minutes)
TIP: You can leave them covered in the refrigerator overnight if you want to do the dipping on the following day.
8. While cupcake shapes are chilling, begin to heat up your chocolate bark according to package directions.
You will use chocolate bark for the bottoms, and pink or white (or whatever color you like - I did half pink and half yellow) chocolate for the tops.
10. Follow the instructions on the package for melting. Most recommend heating for 30 second intervals at a time and stirring in between. You can also do the double boiler method.
11. When you are ready to dip, remove from freezer and set up another wax paper covered cookie sheet.
12. Take the cupcake shaped mixture and dip bottoms into the melted chocolate - just to the point where the mounded shape starts. Remove from chocolate, turn upside down and wiggle so that the excess starts to slide down slightly. Then lay on the wax paper upside down. If you want them to be lollipops, then go ahead and insert the lollipop sticks while the chocolate is still wet. Continue with rest of the cupcakes. You can also leave some without the sticks. They’re just as cute as Cupcake Bites.
TIP: Dip end of your lollipop stick in the melted chocolate before inserting into chocolate bottoms. Not sure if this helps a lot, but it couldn't hurt.
DON'T - get water in the chocolate. Make sure your hands are completely dry. Water will cause the chocolate to separate and mess up all your hard work.
13. Dry completely. (15-20 minutes)
14. Once dry, dip the tops of the cupcakes in the pink or white chocolate. You may need to move it around a little to cover all the exposed areas.
TIP: Let the pink chocolate sit for a few minutes after heating to thicken. This will help it from dripping down the sides of the cupcake.
15. Remove from the pink/white chocolate and turn right side up. You may need to hold and rotate it if there is any excess so that it doesn’t drip down too far.
TIP: You can use a toothpick to help cover any areas the melted chocolate didn't cover.
16. For the Cupcake Bites - just turn right side up and rest on the wax paper. Then go ahead and put a m&m on the top and add sprinkles while wet.
17. For the lollipops, continue holding and place an M&M on the top and add sprinkles. Let them dry in a styrofoam block that you have already poked holes into.
18. When completely dry, cover the lollipops with small plastic treat bags and tie with a ribbon.
Makes about 50. (Mine actually made more than 50)
You can store these in an airtight container and they will last for several days. You can also store in the refrigerator if you would like them cold.


0 comments:
Post a Comment